Earth Domes in Mexico


A building experience with Superadobe
Imagine being able to build your house completely by hand with help from a couple friends, some dirt and a bit of imagination! Well it’s not only possible, it’s an everyday reality for The Mojave Center who recently hosted a workshop teaching dome building techniques against the stunning backdrops of Baja, Mexico.

3 years ago,Ian Zatarian and Nicollete Wagner founded The Mojave Center, a nonprofit educational center for natural building. They currently live on site in Death Valley, California and teach year round workshops and classes on various aspects of natural building. From foundations and structural elements to plaster finishes and desert management-anything is possible. Being a lover of all things natural building, I stumbled upon their newsletter while researching plasters. I was instantly fascinated with their mission and dome builds and quickly investigated ways to make this a reality. In early January and I found my way on a plane down to Baja, Mexico, with a continuing education stipend from @newageartisans, work clothes, and of course my passport.
The build site was primitive, located just outside of La Paz, down a washed out road en-route to a stunning and deserted beach. We pulled up to camp in the dark, 15 people from all over the world newly bonded after a long dinner and a wild ride in the school bus. Naz, the owner of the property, welcomed us to Mexico in style and we set up for the week with a few students camping, while others stayed across the road in a neighboring ranch house. Morning arrived with new faces, hugs and a breakfast of egg and bean tacos cooked by our camp chef, Alva. In the distance, tall and twisted Cardon Cacti peppered the rolling desert hills-a prickly forest reaching the mountain tops to the west. It was as if these ancient guardians were holding vigil on our proceedings, pure Baja magic.
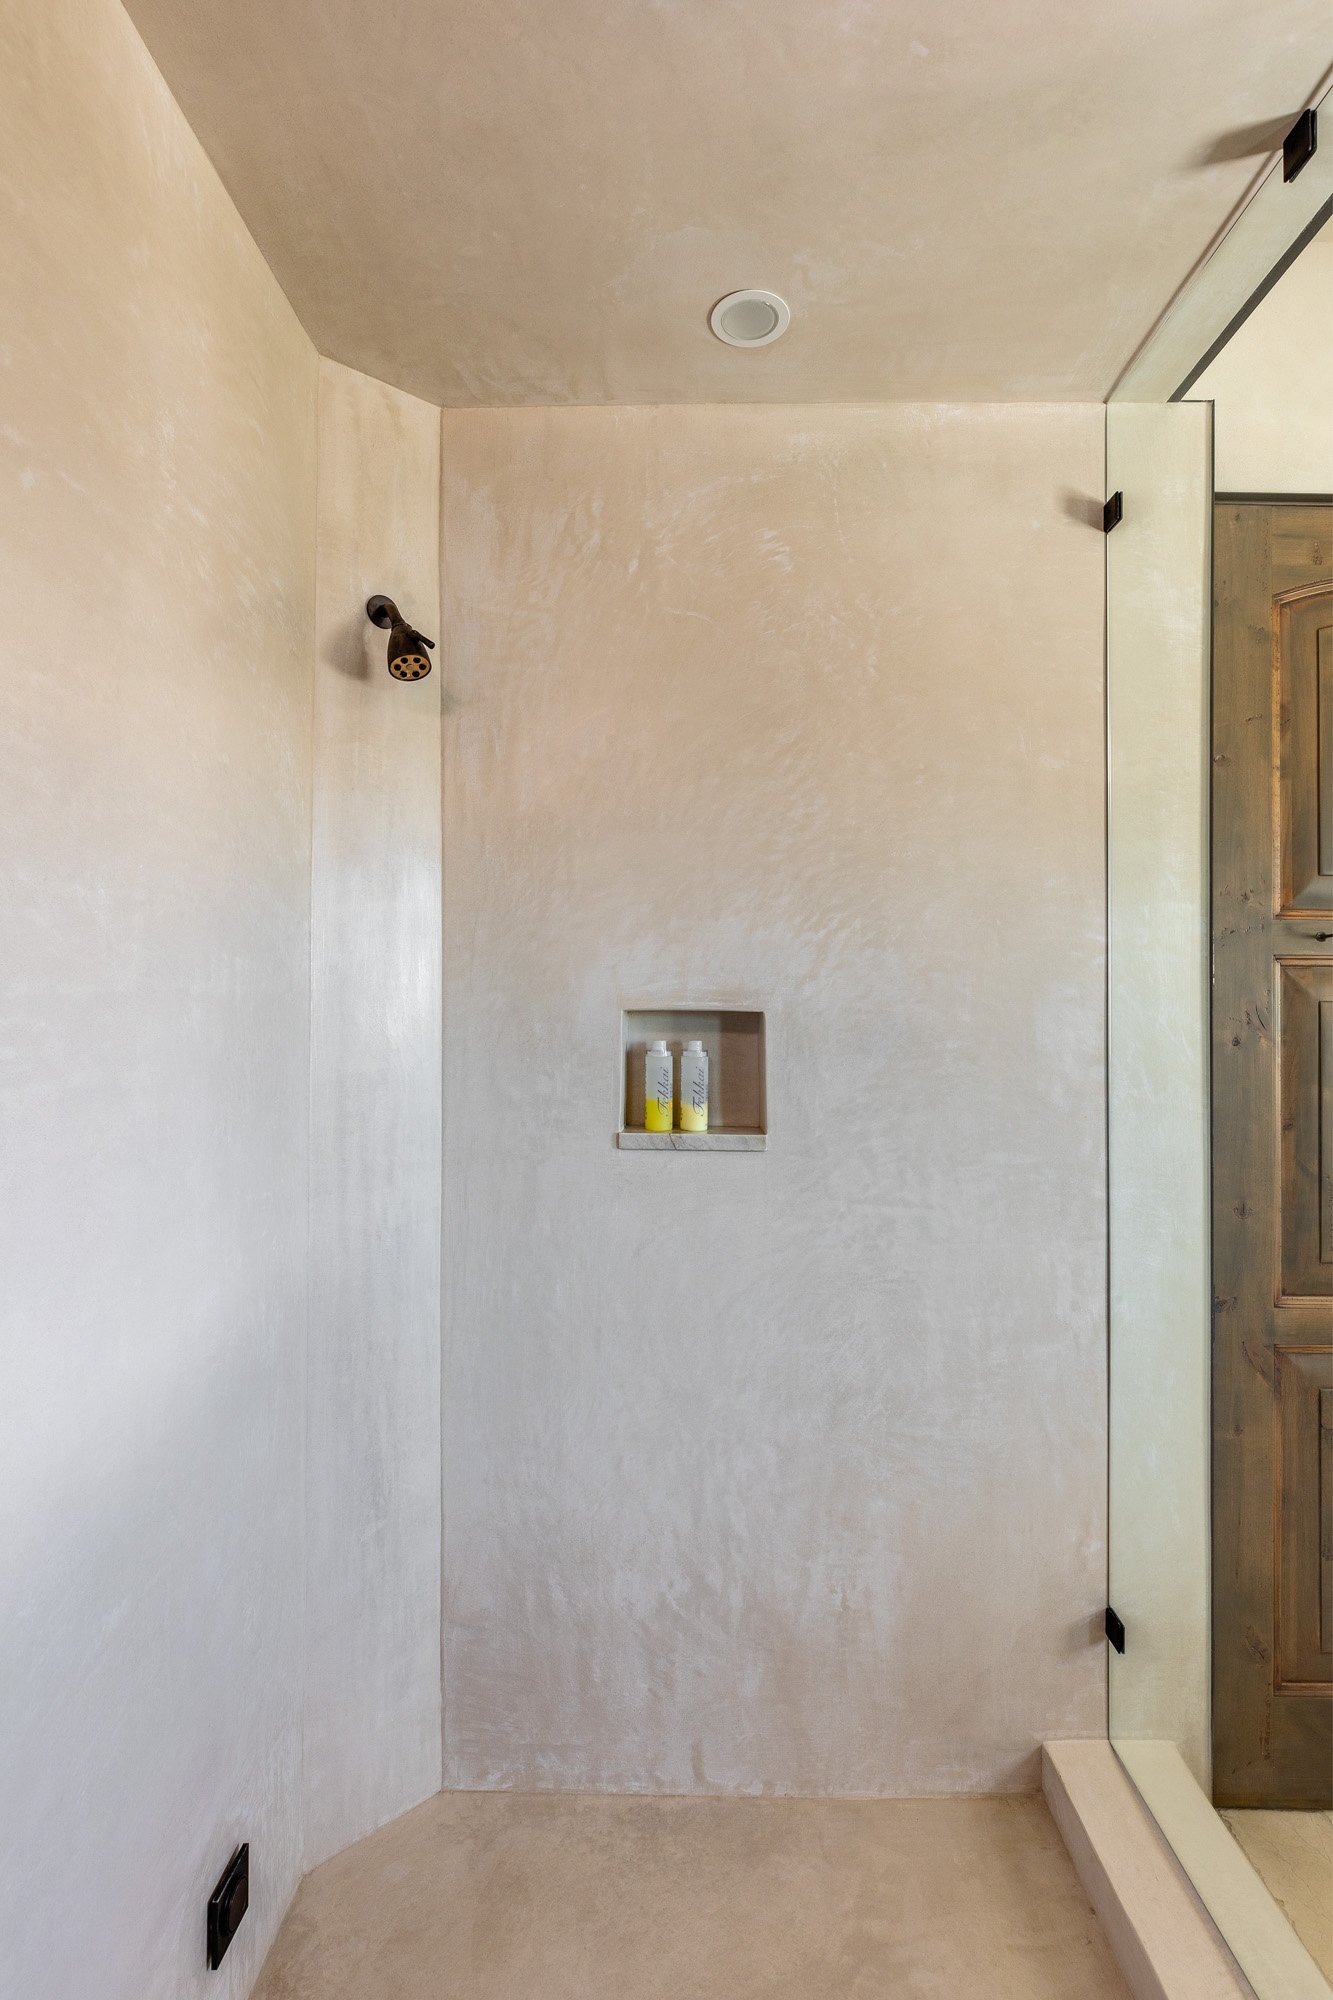
The style of building we learned is called Superadobe. The term refers to a process of filling varying sizes of sandbags with wet earth and then coiling them into the desired shape and height of the structure. In between the earthbags are rings of 4 point barbed wire that serve as tensile strength while the bags themselves have compressive integrity from the inherent gravity. When complete, these solid bags act as huge adobe bricks in bags. The architect who developed this style of building, Nader Kahlili ( Founder of CalEarth) took inspiration from traditional desert dwellings in his homeland of Iran. Along with environmental considerations, he created these buildings as a solution to house people in war torn desert environments. The houses were inexpensive, fast and easy to build, fire and earthquake resistant and very bulletproof.
I would like to acknowledge the amazing people that this build brought together, all driven, unique, hardworking and passionate. Our initial bond was palpable and immediate. There is nothing like manual labor, living outside and exploration to foster meaningful relationships. I appreciated and loved our little community. The sole purpose wasn’t just about building the structure, it was about sharing life and creating community. It’s about the celebration of learning and the sharing of others strengths and gifts. Overall it’s about being grateful and present in the here and now.

BUILD SITE & FOUNDATION
First we started by identifying the build side, looking at topography, water drainage and what orientation the buildings would have. Center points were chosen and the radius was marked by a chain attached to the center stake. We were building 9’ domes so the radius was 4.5’. This acts as a compass to draw the inside footprint of the dome in the dirt. Little key rings are then moved down the length of the chain to measure the width of the walls (untamped) and another exterior ring is drawn in the dirt, 14” out from the circumference circle.
The next step was digging the rubble trench under the walls. We dug down 24” and then made sure all sides and bottoms of the trench were level because our domes were being built on a slight angle. The depth of the rubble trench is dependent on frost line, climate and precipitation in your area. If you were running utilities you could dig lines for them and place them under the rubble trench ( if the climate needed that). These domes however were dry, with electricity being added in later.

We laid two bags of gravel and two bags of fill mix ( 5 part earth, 1 part water, 10% cement). All bags were tamped out after they were filled and ends tucked in. So the 14” bag only packs out to 12” when full of material. In between each bag layer we wove in a ring of barbed wire, which acted as a glue between bags and added the tensile strength to the whole structure. All bags and barbed wire were measured by counting feet around the circle. We added a length of +3 to all bags to account for tucks and +2 for all barbed wire, for looping. We laid a black plastic vapor barrier in between the two earth filled bags that brought the foundation up to grade. My type of building! Measuring with your body, and being able to adjust and eyeball mistakes that can easily be fixed. Earth is pretty amazing that way.

CENTER COMPASS, SPRING LINE, DOOR FORM
With the structure now just below grade we tucked in the outside flap of the vapor barrier and laid another bag of earth. We then took the rebar stake out of the middle and switched it for an 11’ tall pole with the radius chain still attached that acted as a center and height compass for the rest of the build.

The next step was building and setting the first half of our door mould which we anchored into the correct spot with the help of some shims and our center compass.
After the door form was set, we needed to determine our “Spring Line” location. The spring line is the point at which the grade ends and the dome begins to curve inward. Up until that point, all the bags are simply just stacked straight up. Without using the spring line, the diameter and height of the dome would be the same. By adding a spring line the height is able to be manipulated. Our spring line was 18” so we built up 4 rows of bags, tying in buttress bags around the door form. We also added another metal chain attached to the door form at 18” in to serve as our height compass.
Important Notes:
- Buttress bags need to stay a finger width away from the form before tamping.
- Center compass is read : key ring + 1 finger from un-tamped bags, key ring touching tamped bags. Adjust bags as needed.
- Tuck ends of the bag nice and tight
- Buttress bags ‘tie in’ to the main circle every 2 bags.
- Height compass is fixed at the spring line and shows the curvature of the dome.

DOME STARTS CURVING & WINDOWS
The next few rows started to slightly curve inward every round and we continually adjusted the center compass to compensate for the curvature as more bags were stacked. About 3 or 4 more rows up, we built the window frames and situated them on the dome. The windows were 3’x3’. We situated them similarly to the door with shims underneath and brace posts dug into the ground. This allowed for an easier extraction after completion.

Once the windows were set, we started using “pillow bags” around the window form-2 small buttress bags that compressed the window form into shape. We did this on every ring when we got to the windows and built it up until the arch bag over the top of the window. (left) filling bags, (right) pillow bags- need to be tamped at the same time.

Second Door formation and Window Arches
We added the second door frame when the buttress bags reached the top of the first form. The second form was the same width, and the difference of height to make a 7’ door opening total.
In crossing both the window and door forms, more cement is added to the mix in order to ensure structural integrity. Incredible amounts of weight span these openings, and it’s imperative to ensure it will maintain integrity. In addition, the mix also was much more saturated with water when going over the top of the door and windows so that it could cure harder. We drove stakes of rebar vertically through the top window arch bags all the way through the pillow bags and horizontally through the bags across the door frame. This also adds structural integrity.


Over the Door Form
Reaching the top of the door frame, one bag was laid continuously around the whole circle and over the frame. Shorter horizontal bags were filled and laid across the rest of the door form. We drove rebar stakes through these bags for extra reinforcement.
It becomes a necessary and full time job as the dome gets higher for someone to be on compass duty and check that the bags are (untamped) a key ring and a finger width from the compass and (tamped) just brushing the key ring. It helps for someone to constantly be checking as bags are filled because it's much easier to move sections of the bag than the whole thing once it's filled.

Finishing the Dome
From here it was pretty quick and smooth sailing as the rings became smaller and smaller, culminating in a final pillow bag to cap the top. These last few bags we filled were less full because of the difficulty to make them curve with such a small radius. We added 3 small PVC tubes in one of these layers which acted as vents.

After capping the dome, the last remaining task was to remove the forms and clean up any tears and exposed string and barbed wire.

We mixed up a batch of lime and sand plaster to serve as a scratch coat for the domes and tested it out on some of the dome. This marked the end of our workshop, however several students stayed longer to help with the plastering and other construction details inside the domes. With a heart full of wonderful memories and inspiration for future projects I returned back to Montana, snow( finally!) and lots of plaster work. The notion of traveling and learning is alive and well, and I cannot wait to continue to expand on my knowledge base and skills.

Image Gallery